This progression will help prevent injuries, increase overall quality of life, reverse the negative impacts of sitting and a sedentary lifestyle and I would say the base for starting a successful sprint routine.
The goal of this squat progression is to reclaim your resting floor squat position and progress your overall squat strength. Increasing range and strength in your end-range positions. Get tighter, folded creases at every joint – hips, knees, ankles. Resting your chest on the quads, hamstrings on the calves and good dorsiflexion in the ankles. And to be able to comfortably stay in this position with zero tension for more than a minute. If you can’t last for more than 45 seconds it means you’re holding tension somewhere.
Toddlers and elite athletes can get into this position and easily stay there for a while. As we age and we move less and less into these end range positions, our body stops maintaining those ranges because it thinks we don’t need them any more. Like a rusty door hinge that will only open half way but with some oil and prodding we can reclaim those end ranges.
You’ll see elite sprinters get into this position after just running an all out sprint. I believe it helps recover the legs, moves the blood, fluid and oxygen into the legs and joints, flushes the lactic acid out, resets the fascia and nerves that are on fire. I’ve had times where my knees or hamstring feel a little tweaky while working out, I’ll get into this resting squat for about a minute and it completely resets my legs.
Test this out for yourself, but if your hamstrings feel a little tweaky or tight, the last thing you want to do is stretch it out. It’s possible the fascia is signaling a disruption and is knotted up because of some misfiring in the muscle fibers. Stretching can create more tears in the muscle. I’ve done the stretching option, and it never feels better, in fact sometimes makes it worse. I’ve been doing the resting squat position and the tweakiness clears up.
Here’s my resting floor squat progression:
The difference between elevated heels and heels on the ground. Elevated heels will put more emphasis on creasing at the knees. While heels on the ground requires solid ankle dorsiflexion and hip crease. When you’re first starting out, elevated heels squat might be the easier to start with, you can use a slant board if you have one. So at this phase, it will require increasing ankle and hip mobility separately.
Slant Board – Zero tension resting squat
□ Slant board resting squat with chair support
□ Ankle dorsiflexion position
□ Seated hip hinge
□ Weighted slant board squat
Floor Squat – Zero tension resting squat
□ Holding an anchor
□ Holding weight in front
□ Resting barbell
Squat Strength
□ Squat isometric hold for 1+ minute
□ Three level squats – Low, mid range, and high
Bilateral Squats
□ Floor squat
□ Slant board squat
□ Incline RDL
Knee Squats, bilateral
□ Heels on the ground
□ Incline
□ Heels off the ground
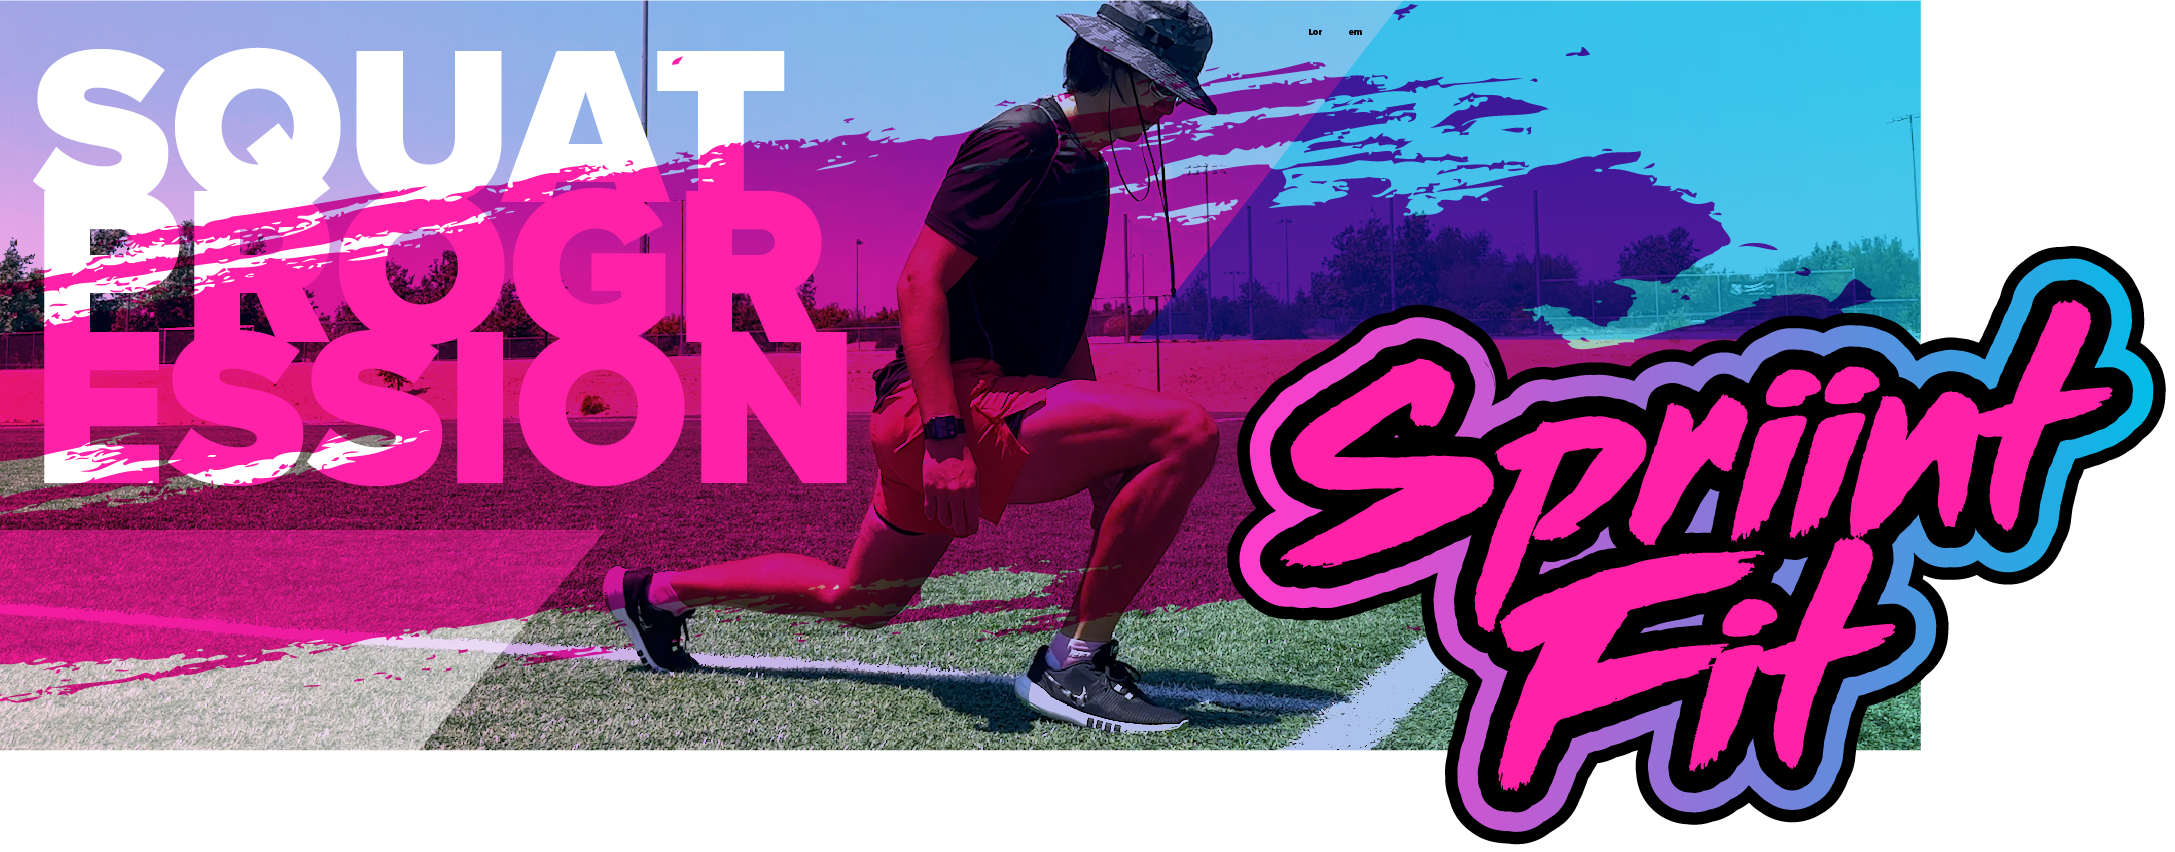
Split Squats
□ ATG split squat – heels
□ ATG Split squat – fore foot
□ Single Leg RDL
□ Step back lunge
□ Kneel floor split squat
Single Leg
□ Single Leg Box Squats (hips) – Slant • Flat • Incline
□ Single Leg Box Step-ups (knees) – Slant • Flat • Incline